
How to Create a Virtual Tour: The Complete Step-by-Step Guide
Learn how to create a professional virtual tour from scratch: choosing a 360 camera, shooting each room, editing panoramas, uploading, hosting and publishing — with realistic costs and timings.
Key Takeaways
- Any modern 360 camera works — the Ricoh Theta and Insta360 ranges are the usual picks.
- Shoot one panorama per room at chest height, lights on, photographer hidden.
- Tour software does the heavy lifting - scenes, navigation, hotspots and hosting.
- Add a floor plan and AI narration to lift a tour from good to professional.
- Publish once, then embed the same tour on your site, Rightmove, Zoopla and social.
Creating a virtual tour looks technical from the outside. It is not. If you can take a photo and use a web app, you can publish a professional interactive tour today. This guide walks the whole journey: camera, shooting, editing, uploading, hosting and publishing.
(New to the format? Read What is a virtual tour? first — this guide assumes you know the basics.)
Step 1: Choose your camera
A virtual tour is only as good as its panoramas, and the camera is your one real equipment decision.
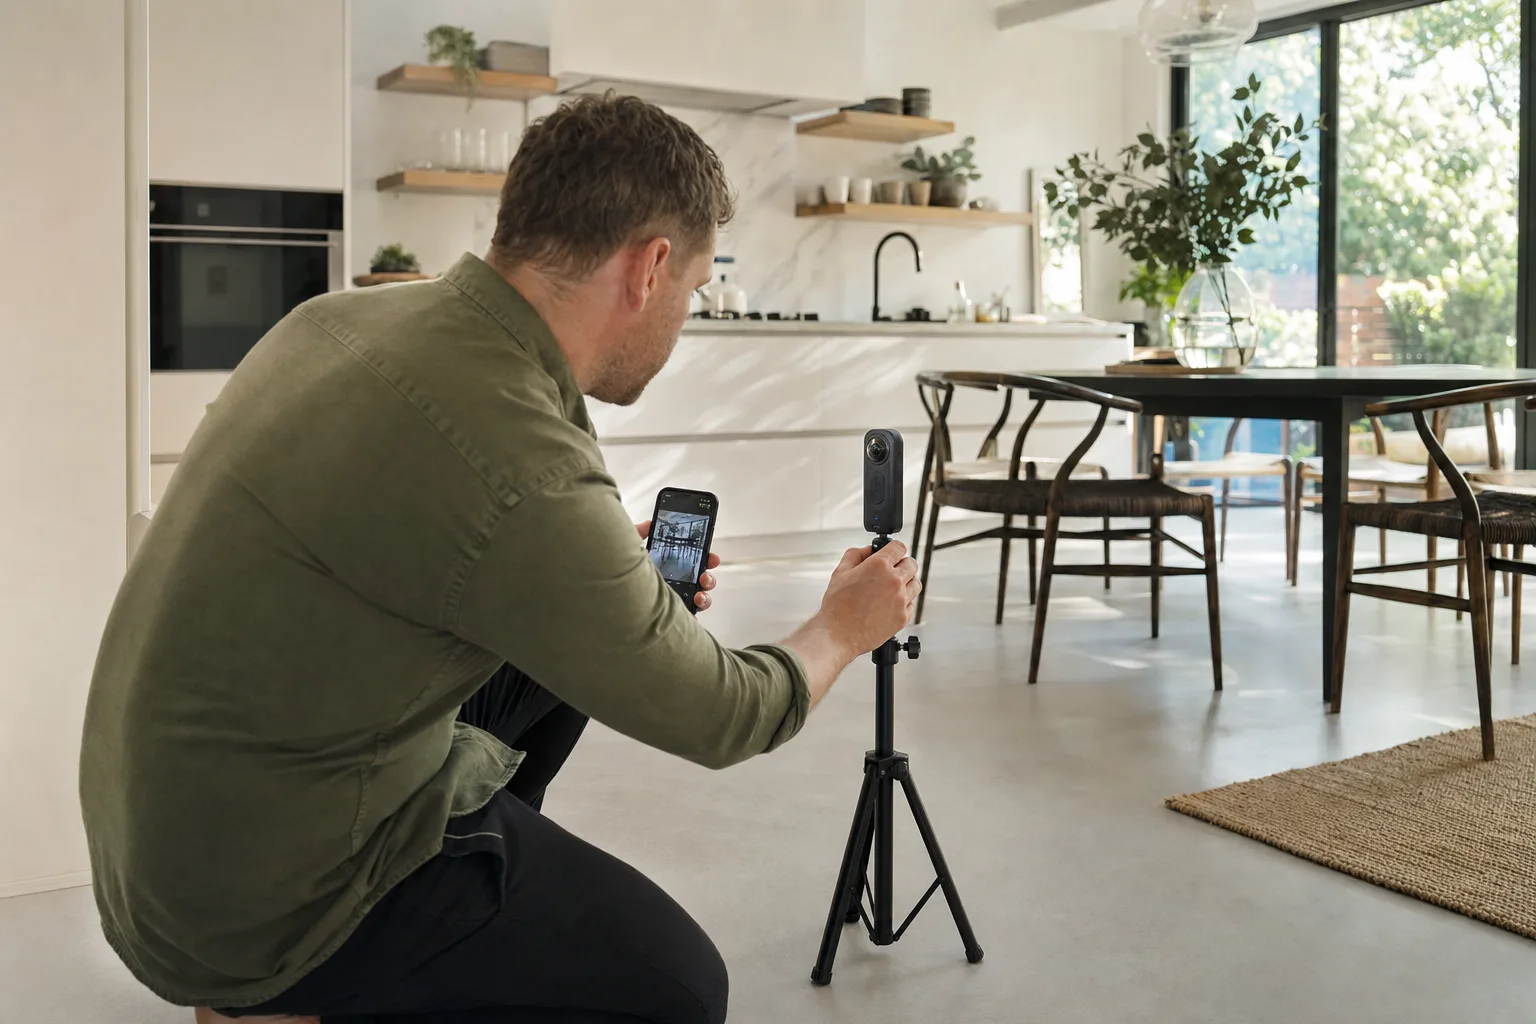
Consumer 360 cameras (£300–£500) are the right answer for most people. The Ricoh Theta and Insta360 ranges dominate for good reason: one-press spherical capture, automatic stitching, solid HDR for interiors and clean smartphone workflows. Look for at least 5.7K resolution — remember that 360 resolution spreads across an entire sphere, so what sounds enormous looks normal in any single direction.
Smartphones (free) can shoot panoramas with apps, and they are fine for learning the workflow. Stitching seams and blown-out windows will show, though — treat phone capture as a trial run, not the finished product.
Pro rigs (£1,500+) — DSLR panoramic heads and cameras like the Insta360 Titan — earn their keep on luxury property and heritage work where detail is the product.
Our best 360 camera guide compares current models if you want specific recommendations.
You will also want a lightweight tripod or monopod (the thinner the leg profile, the less appears in the nadir of your shot) and the camera's phone app for remote triggering.
Step 2: Prepare the space
Preparation is the highest-leverage step, because a 360 camera photographs everything — there is no cropping the mess out later.
- Declutter every room as if for an in-person viewing.
- Turn on all the lights; open curtains and blinds.
- Hide cables, bins, pet bowls and personal items.
- Close toilet lids. Straighten cushions. It all shows.
- Plan your camera positions: one per room, in the spot with the clearest sightlines to doorways (that is what makes navigation feel natural).
Step 3: Shoot each room
The routine that professionals follow:
- Position the camera at chest height (around 1.4–1.5 m). Eye level feels natural; too high or low makes rooms feel distorted.
- One panorama per room is usually right. Add a second scene for large, long or L-shaped rooms.
- Stand out of sight. Step into an adjacent room or behind a wall and trigger the shot from the phone app — otherwise you appear in your own tour.
- Use HDR mode indoors. It balances bright windows against darker corners, which is the difference between amateur and professional-looking interiors.
- Keep the camera level. Most cameras auto-correct small tilts, but a level base keeps vertical lines straight.
- Shoot the exterior too. A front-of-property scene makes the natural starting point, and garden scenes consistently get strong engagement.
A full house takes 20–40 minutes. Your output is a folder of equirectangular JPEGs — ordinary image files, twice as wide as they are tall.
Step 4: Edit (or let AI do it)
Ten years ago this step meant hours in stitching and tone-mapping software. Today most of it is automatic. The camera stitches; the platform enhances.
If you want to polish manually, the worthwhile tweaks are exposure and white-balance correction and straightening the horizon. AI enhancement increasingly handles noise reduction, sharpening and lighting correction on upload — part of the broader shift we cover in How AI is changing virtual tours.
One editing decision worth knowing about: virtual staging. If you are shooting empty rooms, AI can furnish them digitally, and tours can offer a toggle between original and staged views — see the virtual staging feature.
Step 5: Upload and build the tour
Now the panoramas become an experience. In 360tours.studio the sequence is:
- Upload your equirectangular images. Each becomes a scene automatically.
- Link scenes by dropping navigation markers on doorways — click the kitchen door, arrive in the kitchen. Mirror how a person would walk the building.
- Add hotspots — info points on features worth calling out, photo pop-ups for details, links to brochures or booking pages. (See what hotspots can do on the interactive hotspots feature page.)
- Attach a floor plan and link each room, so viewers get a minimap and one-click navigation — the single biggest usability upgrade a tour can have (floor plan integration).
- Add narration if you want a guided feel: record your own voice or generate an AI agent guide per scene, in multiple languages.
- Pick a viewer style — Classic, Minimal, Story, Estate Agent (with lead capture), Luxury or Presentation — and apply your logo and brand colours (viewer styles).
None of this is locked at publish time. Hotspots, scenes and branding stay editable for the life of the tour.
Step 6: Hosting
A tour is a living web experience, so it needs to live somewhere. Three things matter in a host:
- Speed — panoramas are large; good hosts serve them from CDNs with progressive loading.
- Compatibility — browser-native delivery (WebGL/WebXR) so the tour runs on any phone, laptop or VR headset without an app.
- Honest pricing — you should pay for tours that are live, not tours that ever existed.
360tours.studio hosts on ReHub infrastructure with two models: pay-as-you-go credits that keep a single tour live for a fixed period, or subscription Active Spaces — one space per live tour, archive a sold property and the space frees up for the next one. Details on the pricing page, and a full cost breakdown in how much does a 360 virtual tour cost?
Step 7: Publish and share everywhere
Publishing produces two things: a share link and an embed code. Use both relentlessly:
- Your website — embed the tour on the property or venue page.
- Property portals — Rightmove and Zoopla accept tour links on listings; our Rightmove guide shows exactly where they go.
- Google Business Profile — a tour on your profile lifts local search presence, which we unpack in How virtual tours improve SEO.
- Email and social — tours consistently out-engage static images.
- VR — share the short code and anyone with a Meta Quest can step inside via the Quest viewer.
Common beginner mistakes
- Shooting before preparing the space (the camera sees everything).
- Camera too high or too low — chest height, always.
- Appearing in your own panorama (use the app trigger).
- Linking scenes in illogical order so viewers get lost.
- Publishing a bare tour with no hotspots, floor plan or lead capture — the interactive layer is where engagement becomes enquiry.
- Burying the finished tour one obscure link deep on your website.
You are 40 minutes away from your first tour
That is the honest timeline: half an hour of shooting, ten minutes of building, publish. Try the interactive demo to see what a finished tour feels like, check pricing when you are ready, and if you want the full context on the medium — history, industries, AI, VR — the ultimate guide to virtual tours has all of it.
Frequently Asked Questions

The 360tours.studio Team
Virtual Tour Experts
We build interactive 360 virtual tour software for estate agents and property marketers.
Related Articles
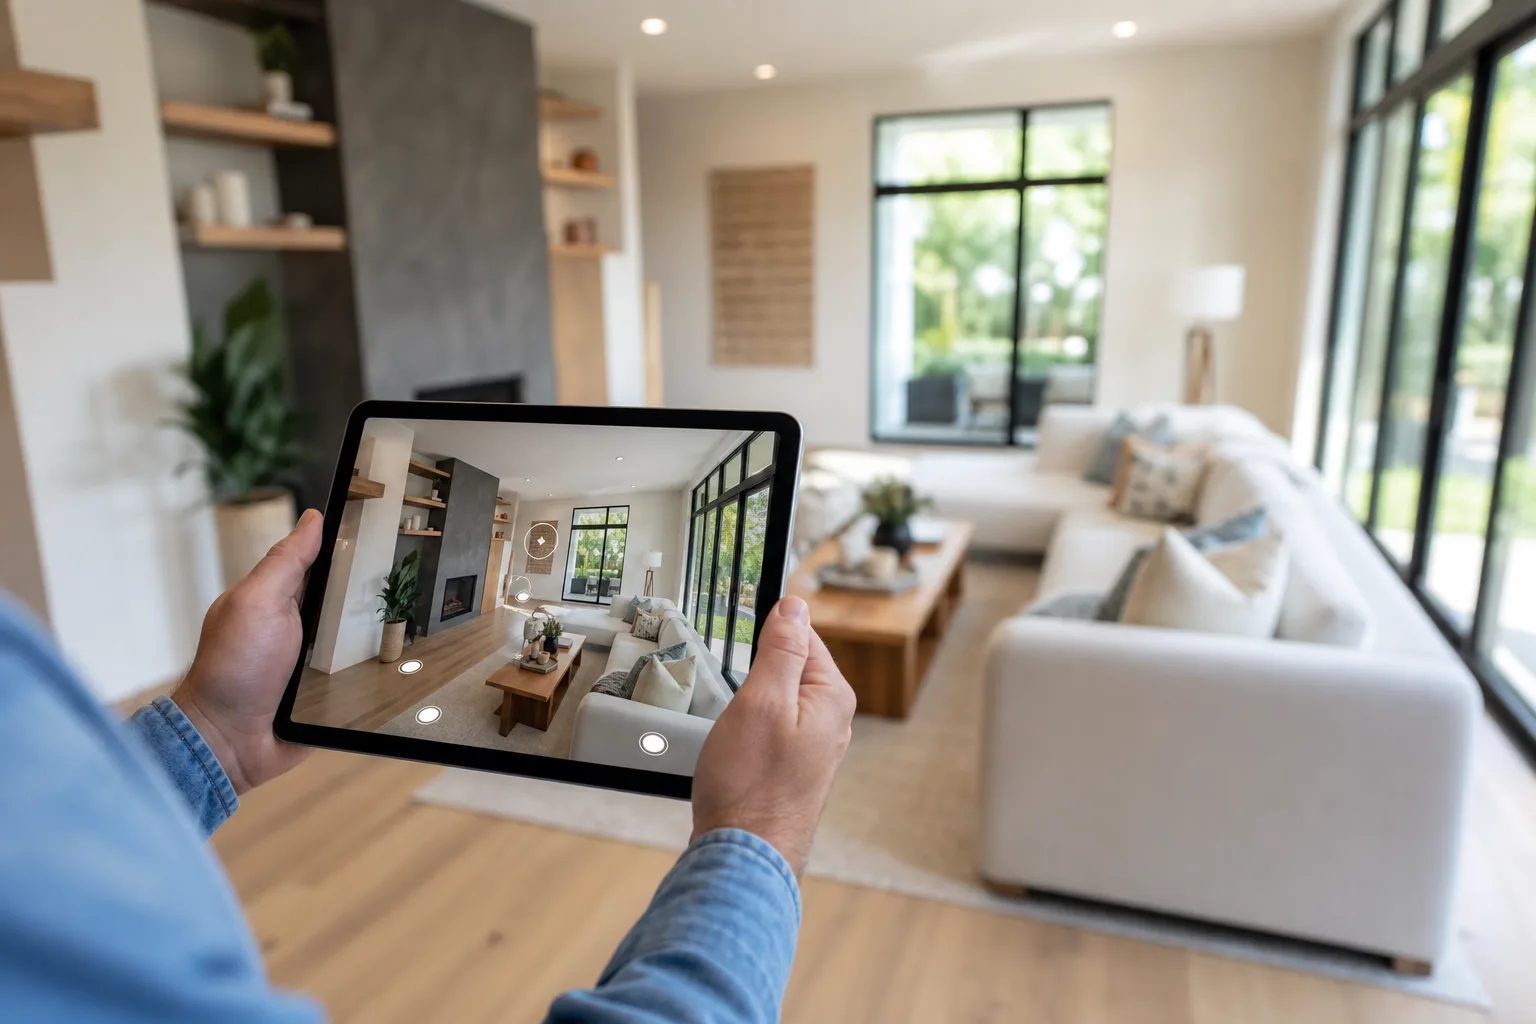
The Ultimate Guide to Virtual Tours (2026)
Everything you need to know about virtual tours: what they are, how they work, the technology behind them, the industries using them, and where AI and VR are taking immersive experiences next.
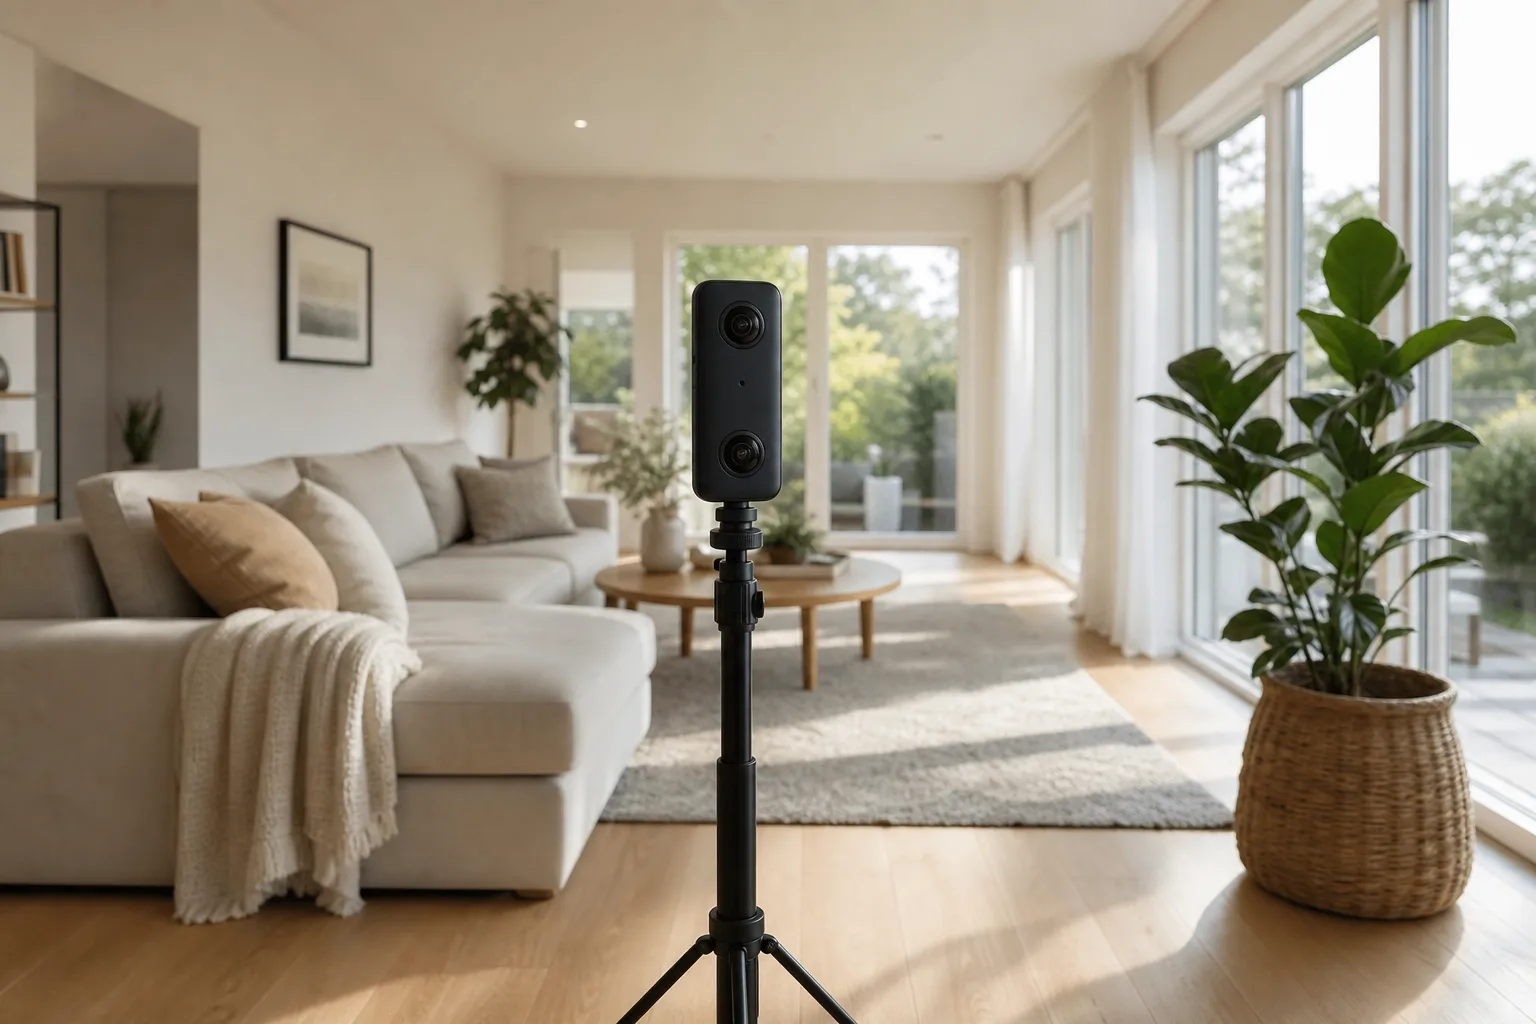
What Is a Virtual Tour? A Complete Beginner's Guide
New to virtual tours? This beginner's guide explains exactly what a virtual tour is, how 360 photos, hotspots, floor plans, audio and VR fit together, and how to view or create your first one.
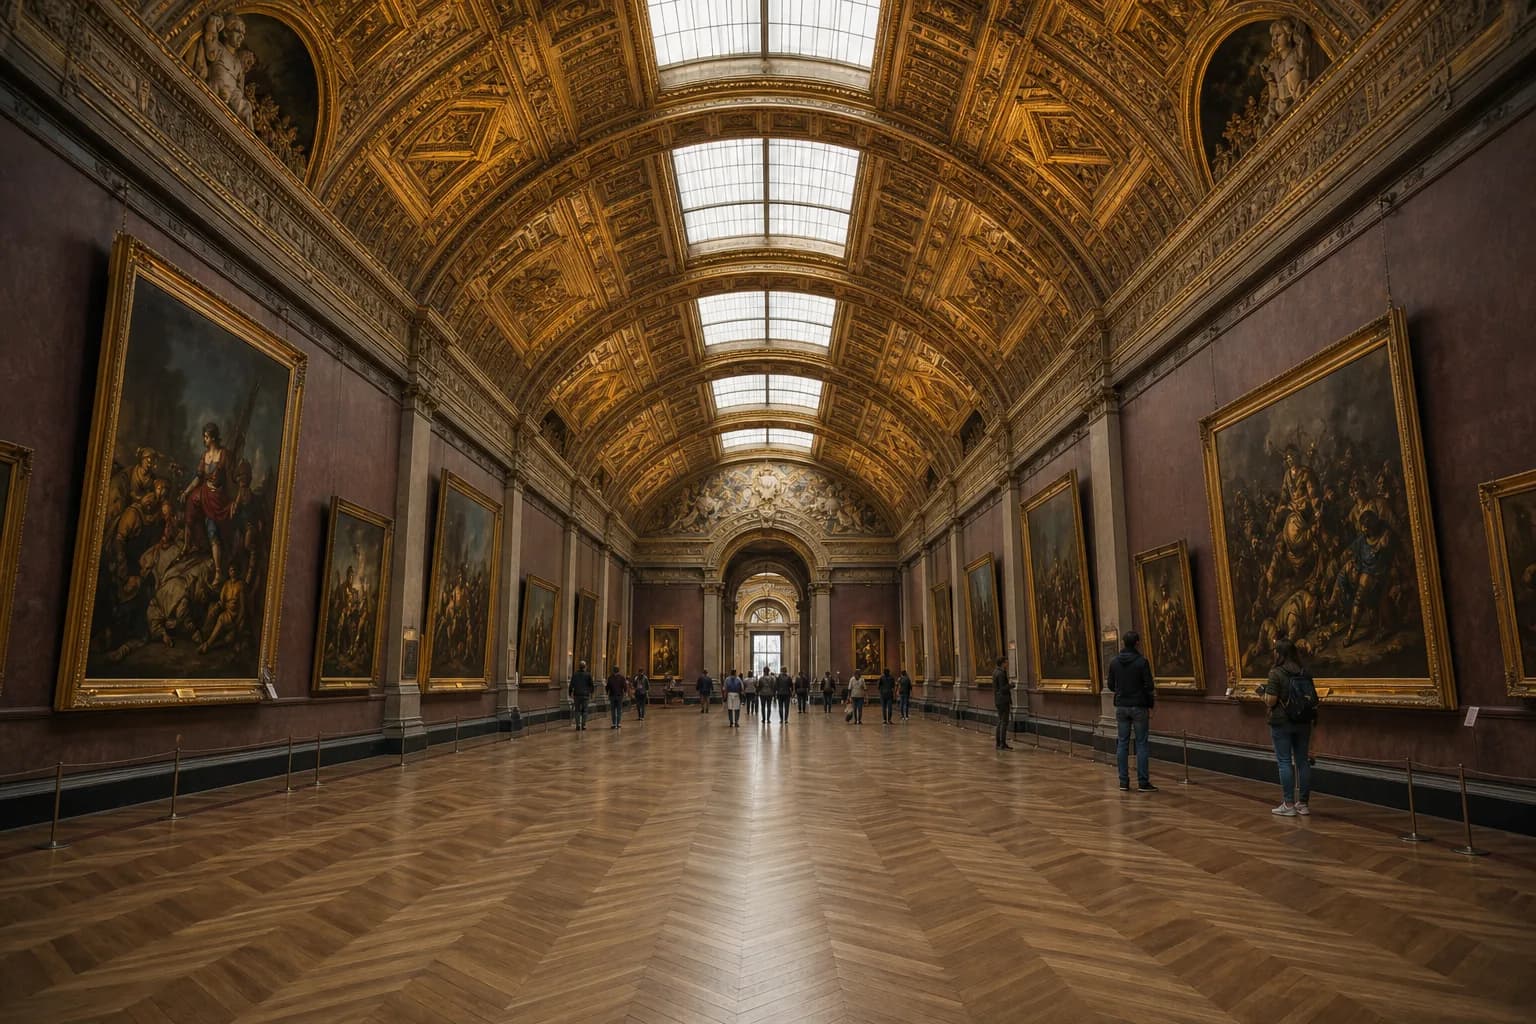
The Best Virtual Tours You Can Explore Online in 2026
From the Louvre to the surface of Mars, these are the best virtual tours you can explore online right now — museums, national parks, landmarks, space missions and AI-generated worlds.